
Spray painting a motorcycle can transform its appearance, but many riders rush the process and end up with chipped paint, uneven color, or long-term damage. Paint flaws usually come from avoidable errors, not bad luck. When you know what to watch out for, you protect your bike’s finish and your time.
This blog highlights the most common mistakes people make when they spray paint a motorcycle. Avoiding these problems helps you achieve a cleaner look, stronger adhesion, and a finish that lasts through weather, vibration, and road wear.
Key Takeaways
-
Proper surface preparation determines how long the paint lasts
-
Paint choice must match motorcycle conditions and materials
-
Thin, even layers outperform thick coats every time
-
Weather, ventilation, and timing affect final results
-
Rushing any stage increases the risk of failure
Skipping Proper Surface Preparation
Many people spray paint directly over dirt, grease, or old damage. This mistake causes paint to peel, bubble, or flake within weeks.
A motorcycle surface collects oil residue, brake dust, and road grime. Paint cannot bond properly to a contaminated surface. Even a clean-looking panel may still hold invisible residue.
Riders often rush prep work because it feels slow and boring. That decision usually ruins the final result. Poor prep leads to uneven texture and weak adhesion, no matter how good the paint quality may be.
Ignoring Rust, Scratches, and Dents
Paint does not hide flaws. It highlights them.
When riders paint over rust spots or deep scratches, those imperfections remain visible through the new color. Rust also continues to spread under the paint, causing bubbling and cracking later.
Some people hope that thick coats will hide damage. Thick paint only makes the problem worse and increases the risk of runs and sags. A smooth surface creates a smooth finish.
Choosing the Wrong Paint Type
Not all spray paint suits motorcycle parts. Using paint meant for household items or indoor projects leads to fading, cracking, or poor durability.
Motorcycles face sun exposure, heat, fuel splashes, and constant vibration. Paint that lacks resistance to these factors breaks down quickly. Riders who choose paint based only on price often repaint within months.
Paint compatibility also matters. Mixing mismatched paint types can cause chemical reactions that wrinkle or lift the surface.
Spraying Without Proper Ventilation
Many people paint in closed garages or tight spaces with poor airflow. This mistake risks both health and paint quality.
Poor ventilation traps fumes and overspray, which settles back onto the surface. That creates rough textures and uneven finishes. It also exposes the painter to harmful vapors.
Fresh airflow helps paint settle evenly and reduces contamination. Ignoring this factor leads to visible defects and unsafe conditions.
Applying Paint Too Thick
Heavy coats feel faster, but they cause more problems than they solve.
Thick paint runs easily, pools at edges, and dries unevenly. It also takes longer to cure and stays soft under the surface. That softness leads to fingerprints, dents, and peeling.
Many beginners try to achieve full color coverage in one pass. Paint performs better when it builds gradually, allowing each layer to bond and set properly.
Rushing Between Coats
Impatience ruins many motorcycle paint jobs.
When riders apply new coats before the previous layer sets properly, the paint traps solvents underneath. This causes bubbling, cracking, or a wrinkled appearance.
Cold or humid conditions slow drying time even more. Ignoring environmental factors increases the risk of failure. Paint needs time to stabilize before receiving another layer.
Related Article:- How to Spray Paint a Motorcycle at Home: Step-by-Step Beginner Guide
Painting in Poor Weather Conditions
Temperature and humidity play a major role in paint performance.
High humidity causes moisture to settle on the surface, which leads to cloudy finishes or poor adhesion. Cold temperatures prevent proper curing and cause uneven texture.
Some riders paint outdoors without checking the forecast. Wind carries dust and debris directly into wet paint. Sunlight can also cause rapid surface drying while the lower layers remain soft.
Neglecting Masking and Coverage
Overspray travels farther than most people expect.
Failing to mask surrounding parts leads to paint on tires, brake components, wiring, and seats. Cleaning overspray later often damages those surfaces.
Good masking protects parts that should never receive paint. Skipping this step creates unnecessary cleanup and potential safety issues.
Forgetting About Primer
Primer plays a key role in paint adhesion and color consistency.
Some riders skip primer to save time or money. That choice often leads to uneven color and weak bonding. Bare metal, plastic, and old paint all react differently without primer.
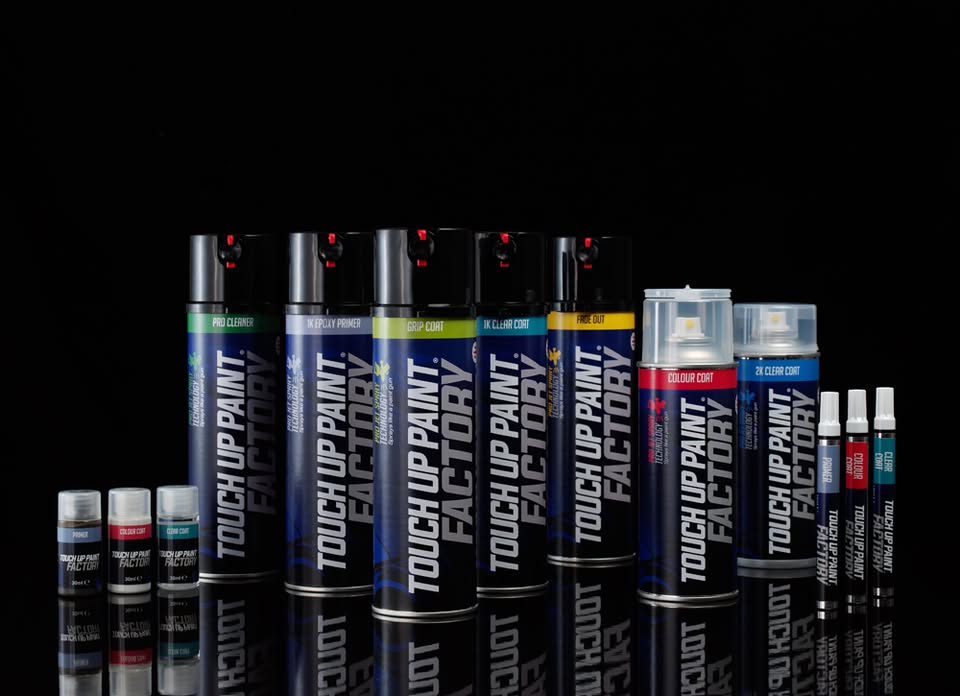
Primer also helps reveal surface flaws before final color goes on. Without it, defects remain hidden until it’s too late to fix them easily, a mistake commonly seen by professionals at Touch Up Paint Factory.
Using Poor Spray Technique
Shaky hands, inconsistent distance, and uneven movement all affect the final look.
Holding the spray too close causes pooling. Holding it too far leads to dry, rough texture. Stopping mid-pass creates visible lines and uneven coverage.
Many people focus only on the paint itself and forget that technique matters just as much. Smooth, controlled movement produces better results than speed.
Ignoring Safety Gear
Some riders treat spray painting as harmless. That mistake can lead to serious health issues.
Paint fumes, airborne particles, and chemical exposure affect lungs, eyes, and skin. Without proper protective gear, painters inhale harmful substances and risk long-term effects.
Safety gear also keeps paint off skin and clothing. Ignoring protection exposes the painter to unnecessary risk.
Reassembling the Motorcycle Too Soon
Fresh paint may feel dry to the touch, but it remains vulnerable underneath.
Handling parts too early causes fingerprints, scratches, and pressure marks. Bolts and fasteners can crack or chip soft paint.
Riders often rush reassembly because they want to ride immediately. That impatience often forces touch-ups or full repainting later.
Skipping a Protective Clear Coat
Some people stop after applying color and assume the job is finished.
Without a protective top layer, paint remains exposed to UV rays, fuel splashes, and road debris. That exposure causes fading and surface damage much faster.
A protective layer adds depth, shine, and durability. Skipping it shortens the life of the paint job.
Expecting Professional Results Without Practice
Spray painting takes skill, coordination, and patience.
Many first-time painters expect flawless results on their first attempt. When mistakes appear, frustration sets in. Unrealistic expectations lead to rushed fixes that make the situation worse.
Practice improves control and confidence. Accepting that improvement takes time helps prevent careless decisions.
Frequently Asked Questions
1. Can I spray paint a motorcycle without removing parts?
Painting without removing parts increases overspray and uneven coverage. It also raises the risk of paint reaching components that should stay clean.
2. Why does my paint look rough after drying?
Rough texture usually comes from spraying too far away, poor ventilation, or airborne debris settling on wet paint.
3. How long should paint cure before riding?
Paint needs sufficient curing time to harden fully. Riding too soon exposes fresh paint to heat, vibration, and debris.
4. Does color choice affect durability?
Darker colors absorb more heat, which can affect curing and long-term wear. Paint quality matters more than color alone.
5. Can I fix mistakes after the paint dries?
Some surface issues allow correction, but major flaws often require sanding and repainting affected areas.